- Step 1: Open Photoshop. Select document size (I chose 18X10 at 72 dpi in the demo, but up to you.) Then click create.
- Step 2: Click Layers from the drop down menu. Scroll down to Smart Objects - Convert to Smart Object. (This preserves the original image's source content. This enables you to perform nondestructive editing to the layer. Which is important when we transfer over the image into Illustrator!)
- Step 3: Make sure your colour swatch on the bottom left is set to black and white. Then click Filter from the drop down menu. Scroll down to Render - Clouds.
TIP: Check "see preview"
- Step 4: Click Filter - Blur - Gaussian Blur. Set to 36.0, then click OK.
- Step 5: Click Image - Adjustments - Posterize. Set the number between 19-21 (but as you prefer).
- Step 6: Click Select - All ( or Control A). Then Edit - Copy (or Control C).
- Step 7: Open Illustrator. Open a New Document with the same proportions that you had in Photoshop.
- Step 8: Now you can Paste the image from Photoshop onto you Illustrator Art Board. Click Window - Image Trace. Make sure you set the colour mode to colour and not black and white. Then click Expand at the top of the screen. All the paths on your image should be "traced." now.

- Step 9: Right Click, then choose, Ungroup. You may have to do this a few times until everything is actually ungrouped. Now you can begin to colour!

- Step 10: Select a shape, then on the top right side click this button "Select Similar Objects." This will select the layers on the same "level."
- Step 11: Click Window - Colour Themes. A window will open with Adobe colour themes. I chose the Blue "Background 2nd Series" for the demo. I then added more variations to my liking... as can you! Have fun and explore with the colour!
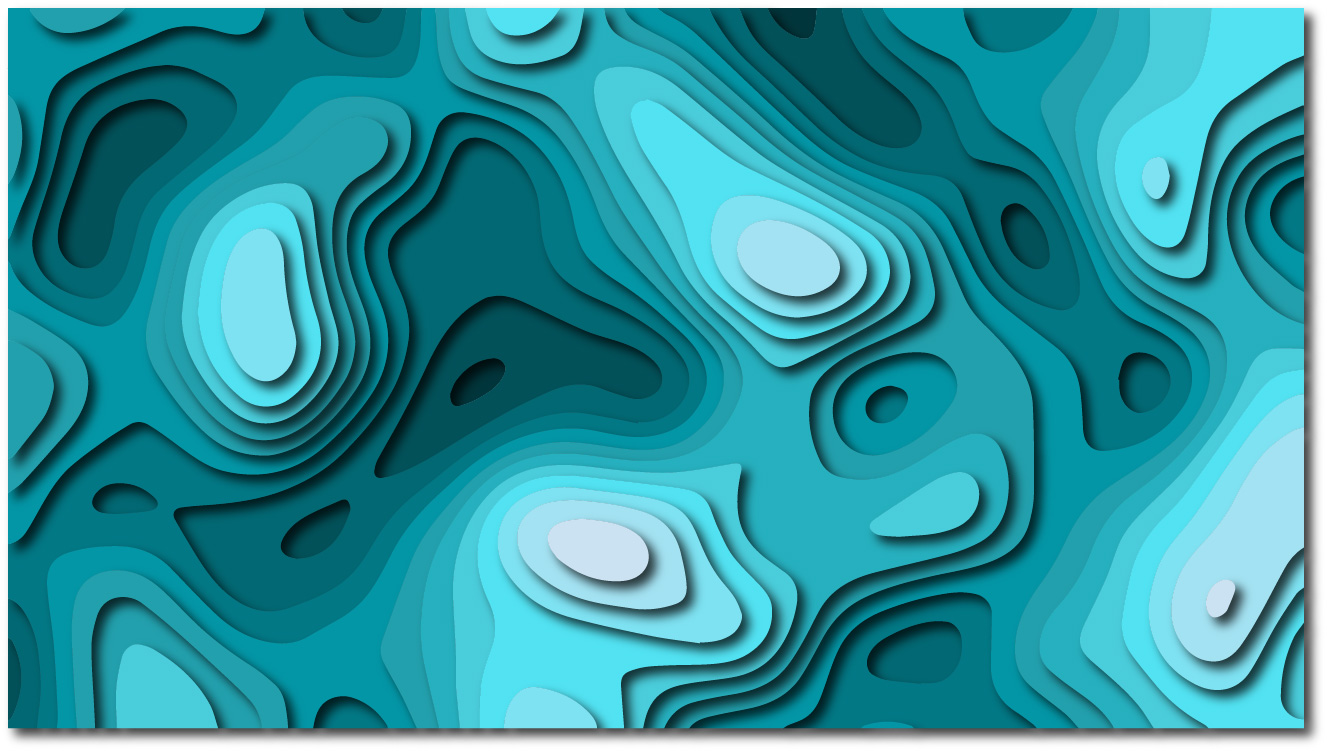
- Step 12: Once you have coloured your image, you now need to arrange your layers from front to back. In my demo, I made the dark colours go to the back, then fade out into the light colours in the front. The order will greatly affect the way the "Paper Cut Outs" look! Select the front colour first, then click the "select similar objects" button. Then click Object - Arrange - Send to Front. Then click Effect - Stylize (Illustrator, first in drop down) - Drop Shadow. You can change the direction of the shadow, but simplicity, just click ok. Continue this process until you reach the end/front of your image!
- Step 13: Export as jpeg and post it to your blog!
Comments
Post a Comment